How to create a POS Terminal Login Dedicated to Online Ordering
Last updated: May 10, 2026
In the POS FACILITY setup, you can assign a dedicated login for online ordering.
If you have a POS login dedicated solely to online sales, it will be easy to identify when an online order comes through. This ensures that online orders won't get mixed up with orders taken over the counter, which can be particularly useful if you have a different process for handling online orders. You might also want to have a separate printer to print the online dockets.
Step 1: Create a dedicated login specifically for online ordering
Navigate to Settings -> Login and click on +New Login and fill in the fields:
Details
| Login Type | POS Terminal |
| User Name | OnlinePos (or similar) |
| First Name | OnlinePos |
| Last Name | OnlinePos |
| Your email | |
| Sales Code / External Ref # | n/a |
| Password | This password will be temporary and will be required to be reset the first time this login is used |
| Confirm Password | Enter the same as above |
| Pin Code | n/a |
| Active | Yes |
| Reset Password | No |
| Allow Online Refund | n/a |
| Can Tip | n/a |
Click on SAVE to access these additional fields:
POS Details
| POS Facility | Click this field to open a dropdown list of all your POS facilities. Select the one designated for Online Table Ordering. |
| Payment Terminal | None |
| Cash Float | n/a |
| Show Quick Charge | No |
| Hide Bookings | No |
| Hide Gift Voucher | No |
| Hide Check-In | No |
| Hide Session Voucher | No |
| Hide Stand | No |
| POS Default View | Products |
Link your printers if you want the dockets to print automatically:

Do not link your printers if you do not want the dockets to print automatically:

Step 2: Link this login to the POS Facility
Navigate to Operations -> POS Facilities and click on the POS Facility that has been set up for online table ordering:
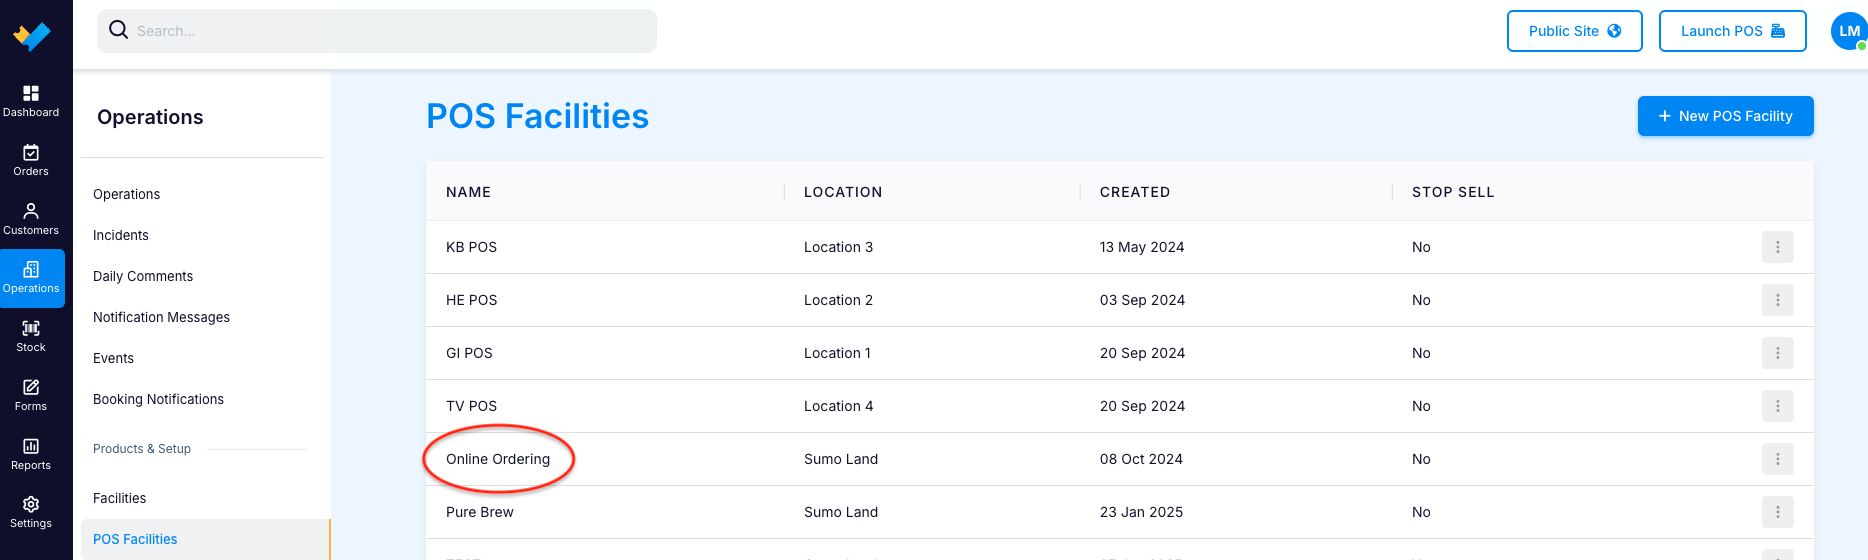
Scroll down to the Online Ordering Section, and select the login from a dropdown list:

Save your changes
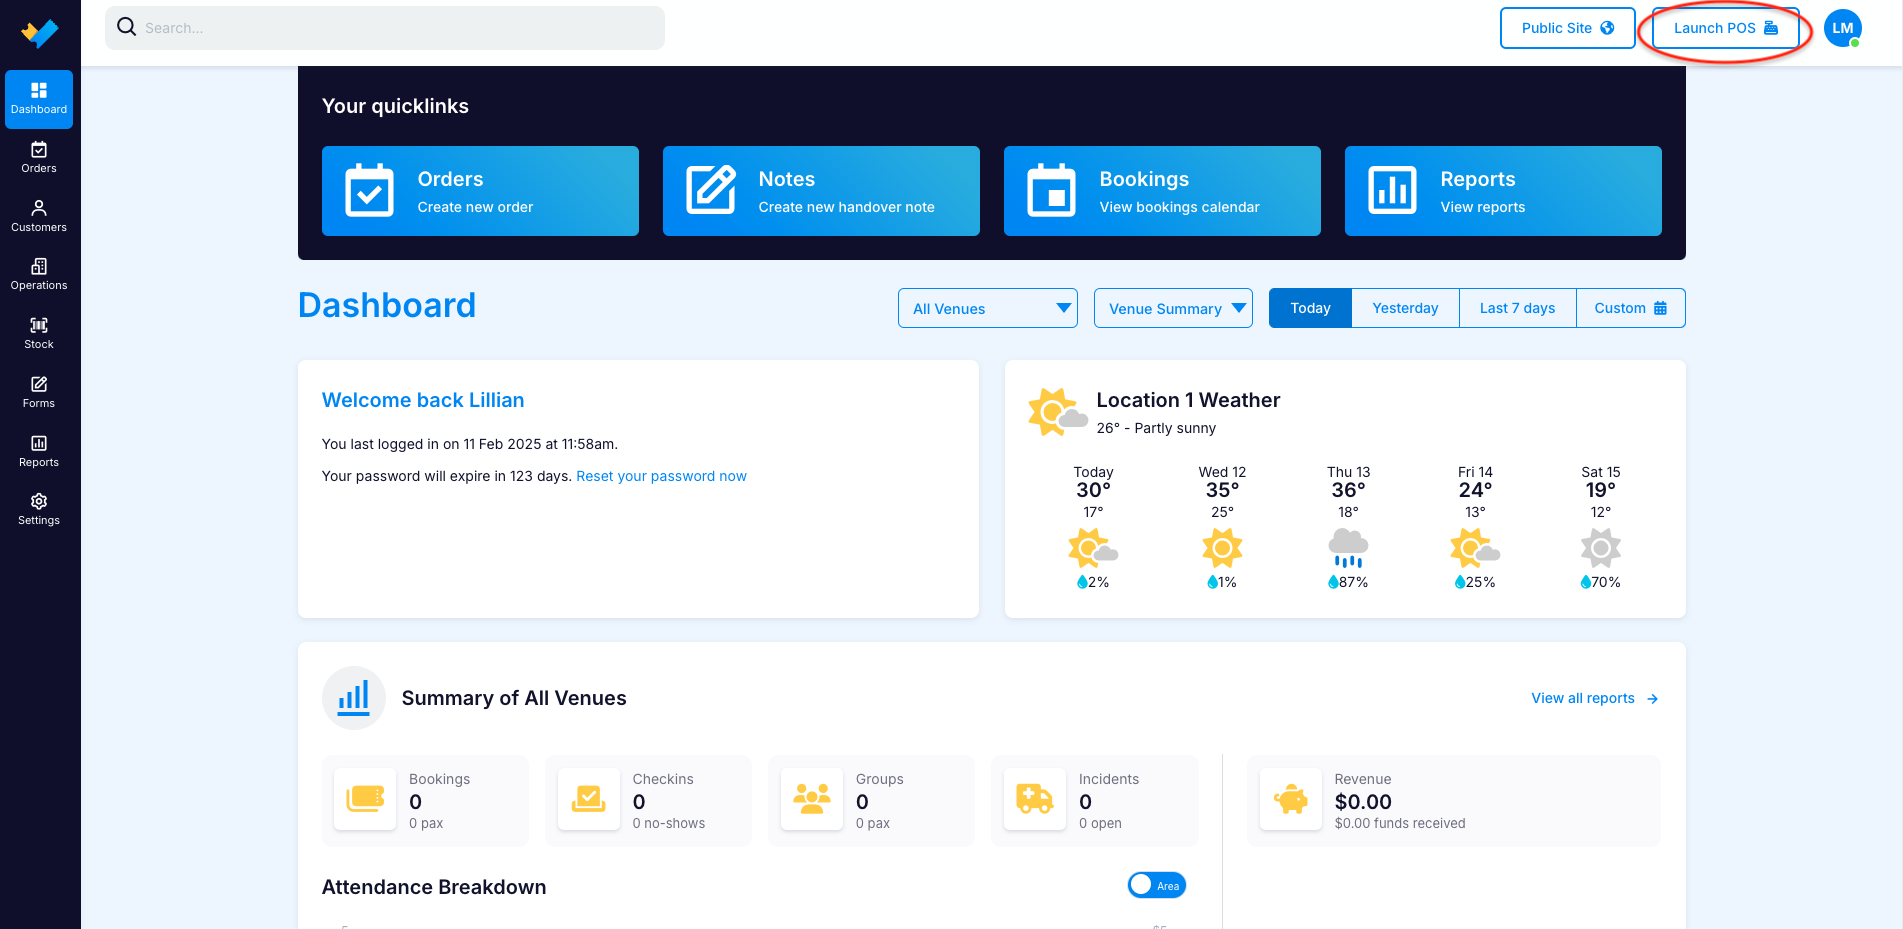
Step 3: Login to the POS Facility using the dedicated login:
Click on the Launch POS button located top right in ADMIN:
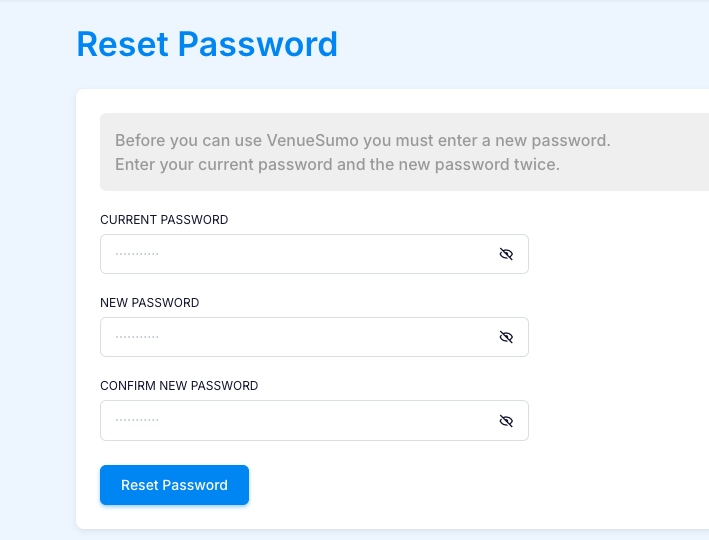
Use the login credentials created in Step 1 to login. You will be prompted to create a new password:
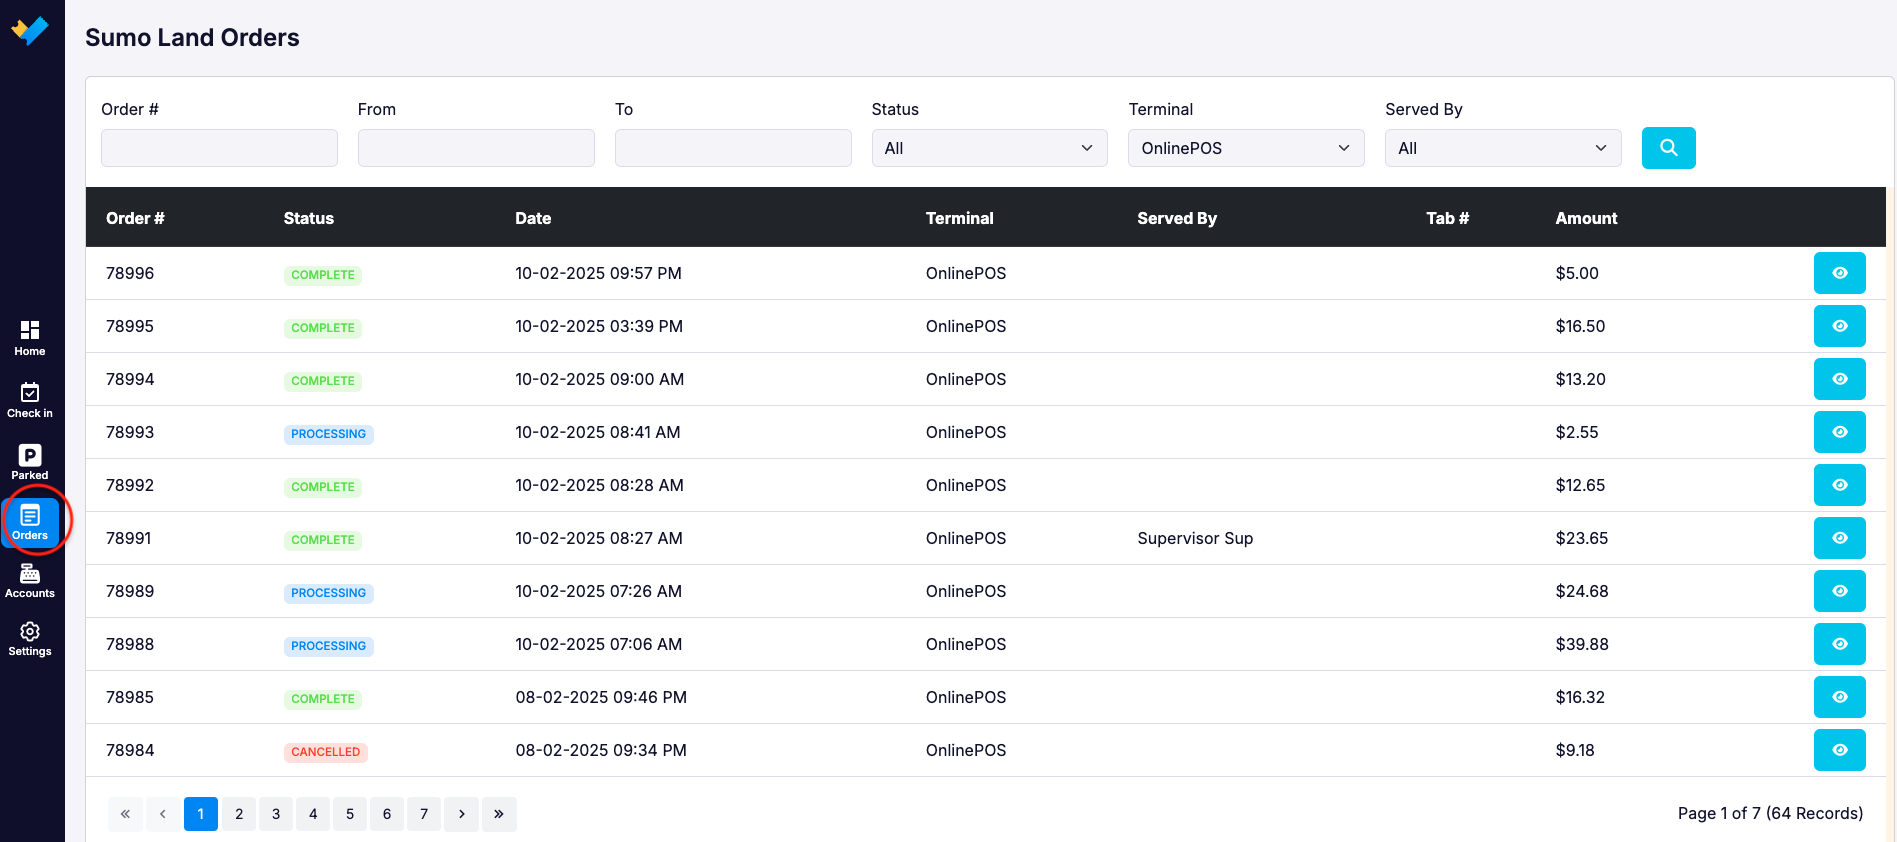
Click on the Orders Tab to see the Online Table Orders that have been placed: