How to create a surcharge on Public Holidays for POS Products
Last updated: May 10, 2026
Navigate to FINANCES -> FEES

Select the location that requires the fee
Click on the "New Fee" button and fill in the boxes as follows:

Set NAME to "Public Holiday Surcharge" or another relevant name, as it will appear on the receipt if requested by the customer
Set TYPE to Surcharge (surcharge will only apply to POS Products sold at a POS Facility)
Set AMOUNT TYPE to Percent
Set AMOUNT to the surcharge percentage
Set your TAX CATEGORY to GST or GST Exempt as required
Set GL ACCOUNT CODE if required
Set STOP SELL to No, change it to Yes if you want to disable the Sunday Surcharge
Set REMOVABLE to No (If REMOVABLE is changed to YES, the POS Operator will be able to remove the surcharge)
Set REQUIRE SUPERVISOR PIN to No. This setting has no effect unless REMOVABLE is set to Yes. At that point, change it to Yes to require a supervisor's approval for removing the surcharge from the transaction
Leave EVENTS, FACILITIES, POS FACILITIES, BOOKING SOURCES, PAYMENT METHODS and PRODUCT TYPES blank
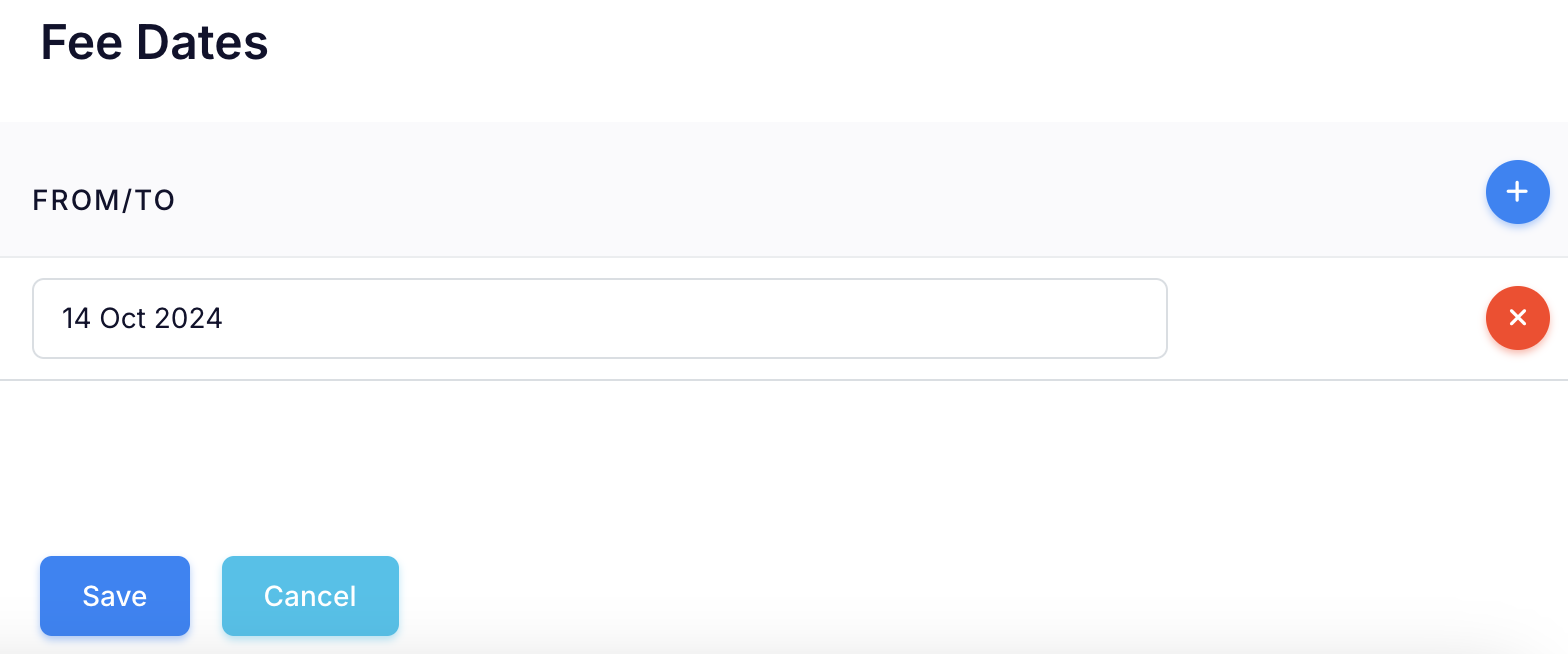
Scroll down to Fee Dates
Click on the plus sign button to add public holiday dates
Select the start and end date
For a single-day public holiday, click the same date twice
Keep pressing the plus sign button each time you want to add another public holiday
Press the Save button
The Public Holiday Surcharge is now activated and will automatically apply at POS
NOTE: The surcharge will not apply to sales made ONLINE or in ADMIN. This is because the FEE DATES specified determine when the surcharge is applied. If a future booking is made on a date with an applied surcharge, it may lead to incorrect charges.
How will the surcharge be shown in POS?
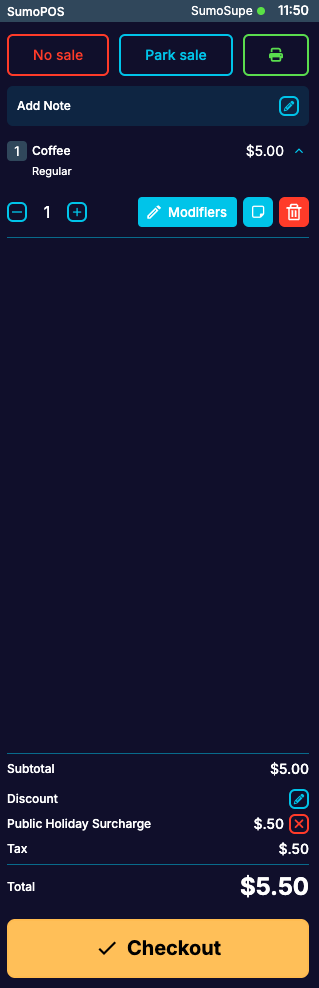
Customer Receipt