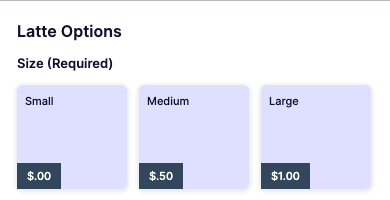
How to add a POS Product Category attribute
Last updated: September 22, 2026
Sometimes products will need different attributes to accommodate modifications. This article goes into how to set those attributes at the Product Category level. This can also be set at the product level for more individualized modifications.
1. Go to Operations > Product Categories
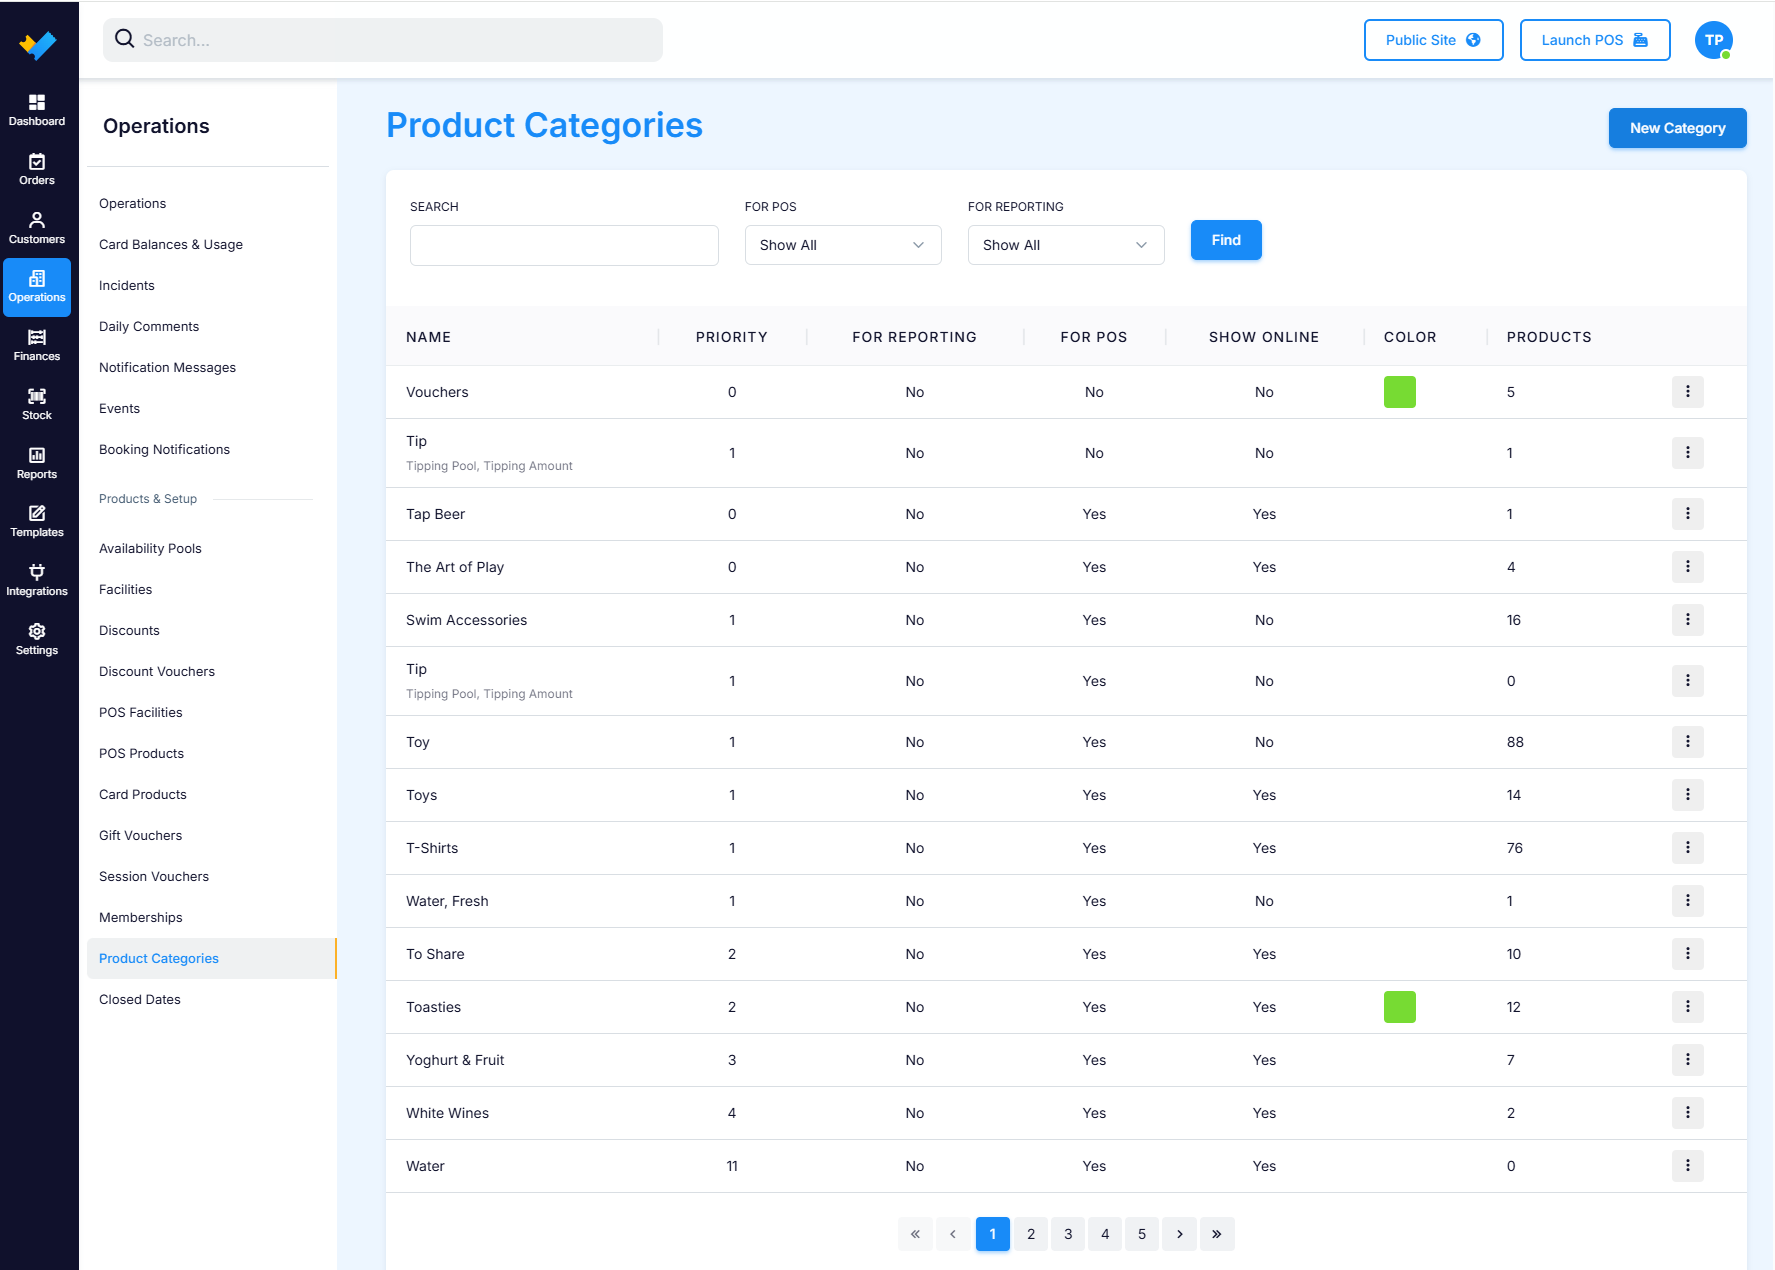
Select a Category, select "Add Attribute" in the top right
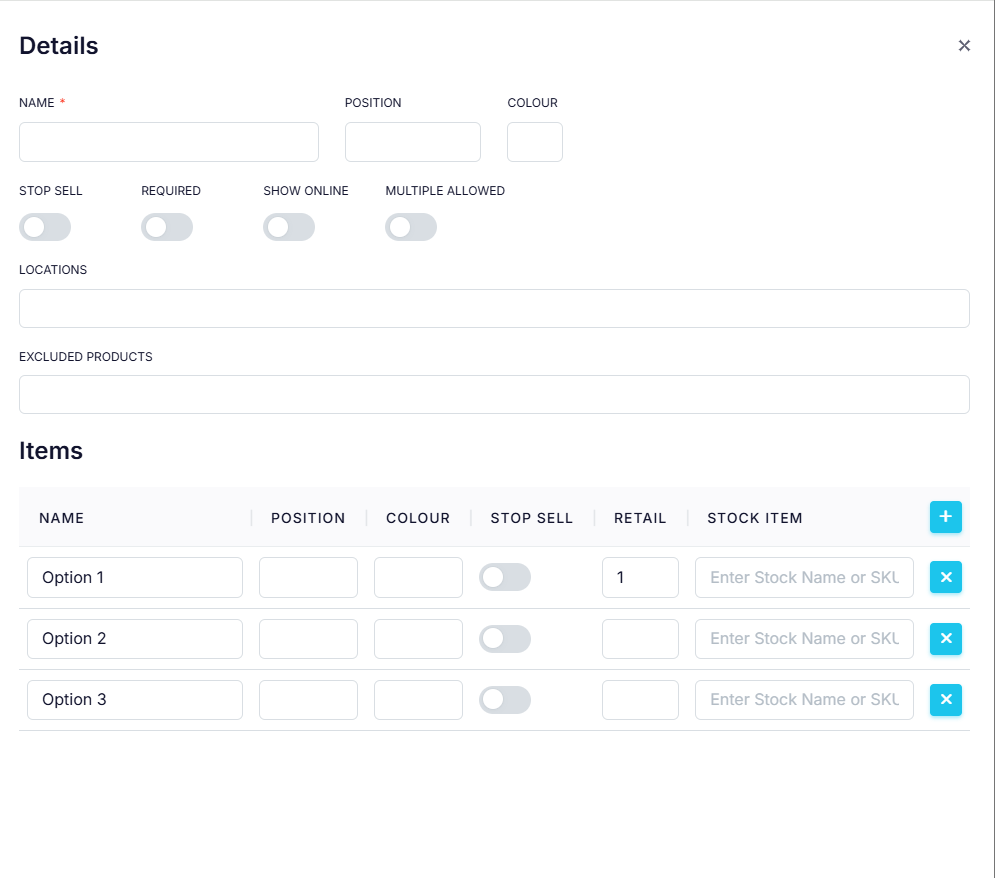
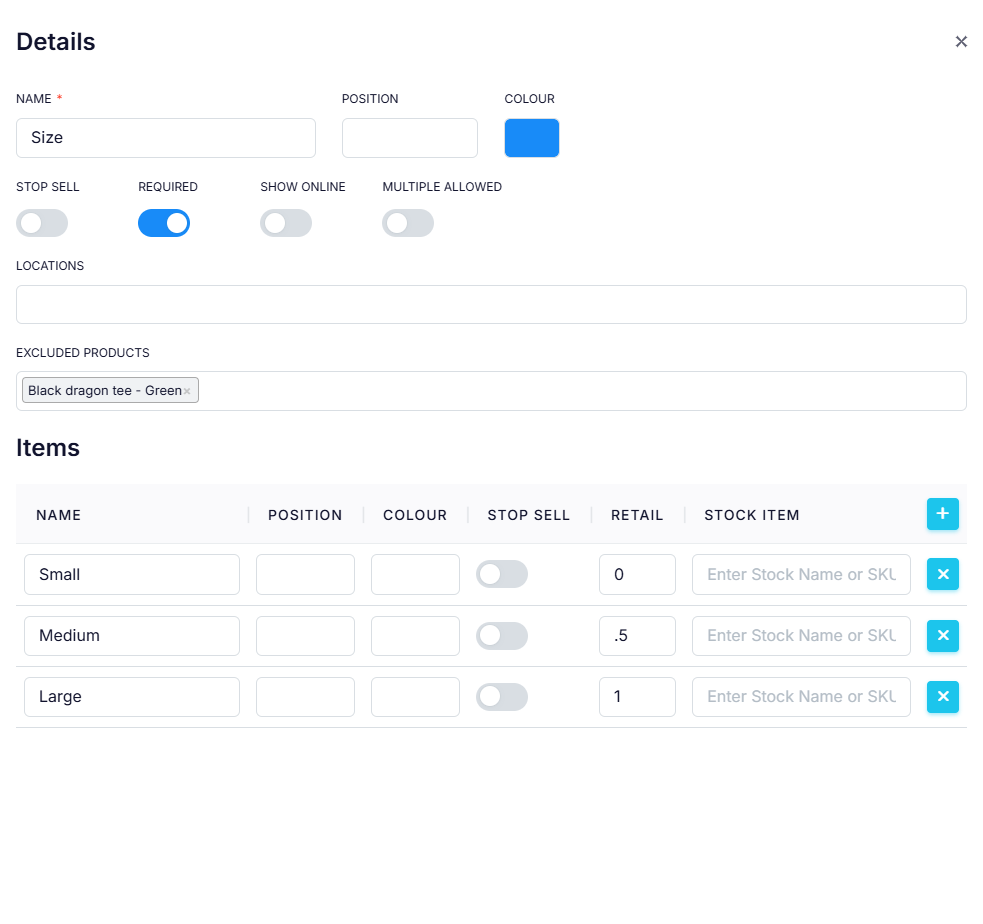
Fill Out the fields
Name = Name of attribute
Position = Controls the display order attributes for this category
Multiple allowed (If YES) = allows staff to select multiple of the attributes
Multiple allowed (If NO) = allows staff to select only one of the attributes
Required (If YES) = Will not let the staff member continue the order until an attribute has been selected
Excluded Products = If the attribute does not apply to a small amount of products then they can be excluded
By default, these attributes apply to all products in the category
Retail = Price difference to add the selected option
Locations = Select Locations you want this attribute to apply to
IMPORTANT: If left empty, it will automatically apply to all locations
Make sure to save your changes