How a Customer can Upload their Membership Photo
Last updated: May 9, 2026
Uploading a photo to a membership ID ensures secure and seamless access to benefits.
This document explains how to enable photo uploads, guide customers to upload images via their portal, and set a lock period for added security.
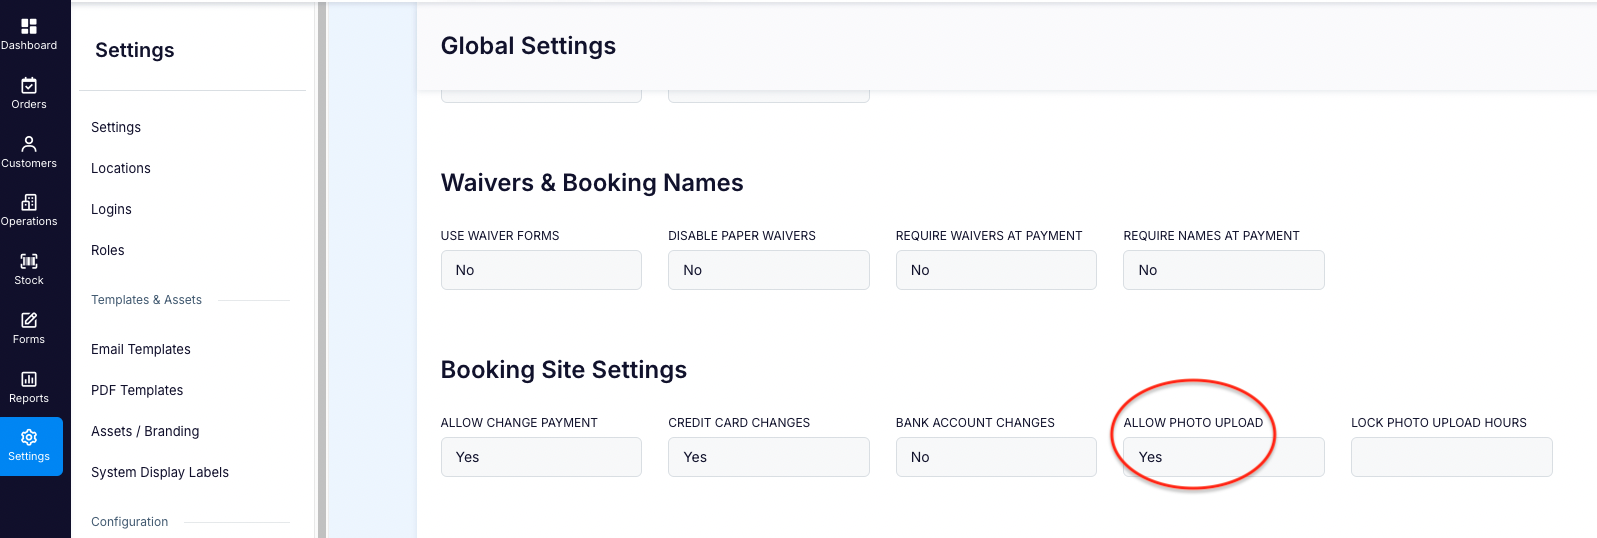
Ensure photo uploads are enabled in Booking Site Settings:
Go to Settings > Global Configuration, scroll to Booking Site Settings, and set ALLOW PHOTO UPLOAD to "YES."
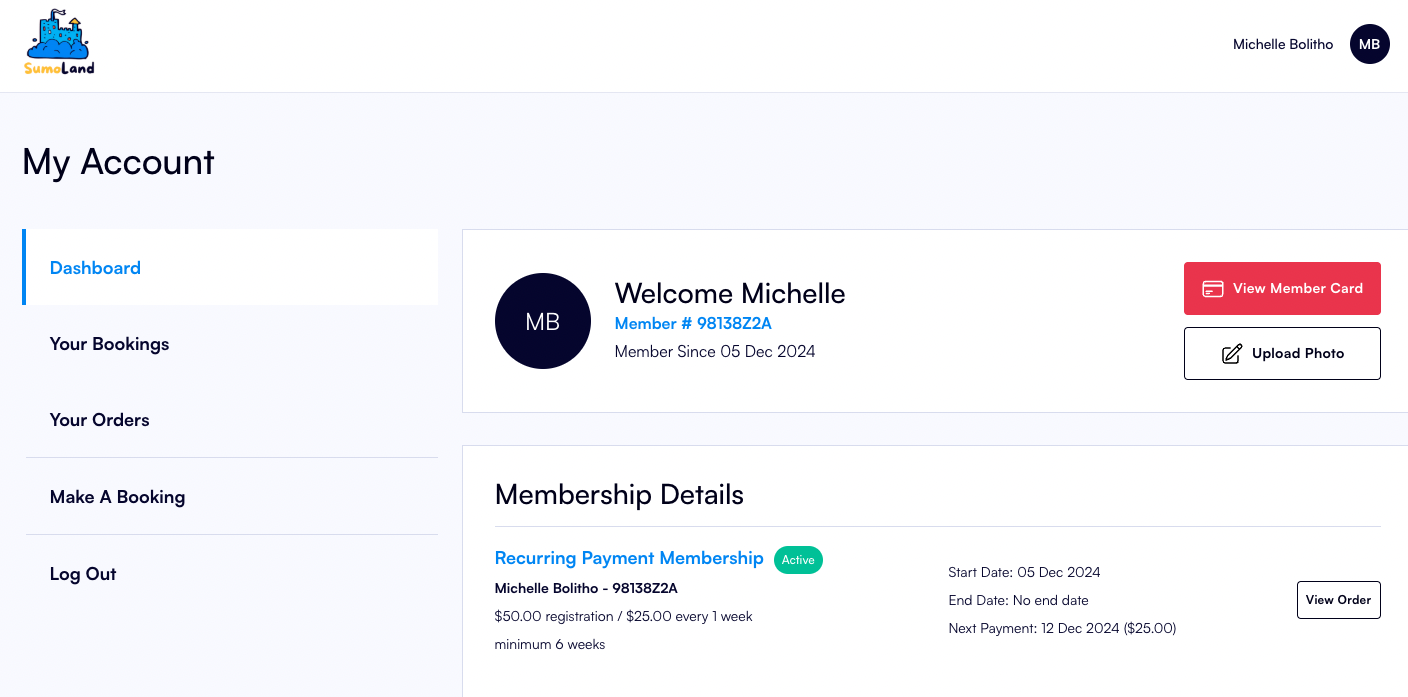
- Customer logs in to their Customer Portal (see guide How Customers can Create an Online Account Portal) and clicks on Upload Photo
Customer clicks on Drop your image here

The uploaded image can now be used for easy identification:

Lock the Photo Upload:
If the global setting 'Lock Photo Upload Hours' has a number assigned to it, it indicates how many hours after the initial upload the photo can still be changed. For example, if set to 24 hours, the customer can upload their photo and make changes within 24 hours. After this period, the photo will be locked and cannot be altered. This ensures prompt verification while allowing time for adjustments, reducing the risk of fraudulent changes.
Go to Settings > Global Configuration, scroll to Booking Site Settings, and set LOCK PHOTO UPLOAD HOURS to whatever time period is preferable:

Unlock the Photo to allow a new photo to be uploaded:
To view the customer's stored photo, navigate to Settings > Customers > View Customer. The photo will be locked once the designated lock period — the time set to allow customers to amend and upload a new photo — has passed. An unlock symbol will appear on the photo. If a new photo is requested, staff can click the symbol to unlock the record, allowing the customer to upload a new photo.
